Showing posts with label mantel. Show all posts

Wednesday, December 7, 2011

My Merry Mantel (and other Merry places)

Hello friends!
Since my town has decided to turn into Forks, I've decided to post the
sub-par-rainy-gray-gloomy-best-I-could-do-under-the-circumstances
pictures of my mantel/foyer/various other Merry spots in my house.

Remember,
I went minimal.
It's the tree.
The realnotfaux tree which only happens to have one ornament on it at the moment.
And I'm okay with it.

Still haven't unpacked the Christmas tubs.
no.not.one.
(hence the absence of my homemade burlap stockings)
I'm okay with that too.

Here's what we've got-
Christmas in the living room/playroom/office

**the sun finally decided to come out after 5 days of rain so I've added a few good shots**


Fresh greens are actually the lowest branches from our totally real tree. It needed a bit o' trimmin' when we got it home.


Nutcrackers are from the hob lob and started out like this-


A quick spray of white, and they're pretty darn tootin' close to the West Elm version that comes in at a whopping $30 for the small size and $70 for the large. Mine were $2.50 and $3.50 thankyouverymuch. 


A red star from Target.
Love it.
I actually draped ribbon through the loop at the top and secured it to the back of the mirror with duck tape. Or duct. Because it was all I could find at the moment.
Sure nuff.


And just to keep it real, here's a shot of where the pink kitchen was at picture time. Had to move it to make room for the tree. It's no longer there, but it was...at that instant.


Besides the red star from Target, I either made everything on the mantel or bought it at the thrift store. The trees on either end are foam on top of wooden candlesticks (that I sprayed white) covered in book page cirlces-


I stuck the cirlces on with straight pins, glued the recently-painted-white candlesticks to the bottom, and boom.
Done.

As for the rest-
I had a spray paint fest, so to speak.
Nothing was safe.
If it was pretty and I thought I might could possibly use it somewhere, it was sprayed. Not to be confused with spayed.


The large candlesticks in the back were thrifted, the silver sleigh was filled with yummy treats and came as a gift a few years back. I kept it, of course, and now it's solid white and looking for a home. The gold reindeer were purchased at Michael's at half price, the stars are from the dollar bins at Target (except I'm pretty sure they were 2.50), and the pink vase came with flowers the hubs gave me a few years ago. All of these items are now a gawgeous, gleaming shade of white. Oh, almost forgot to mention those bust forms- they're not part of my Christmas decor...just needed a fresh coat of paint.

Here's Christmas in the foyer-


A white berry wreath on the Narnia door, white poinsettias from Michael's, my book page tree in a frame I already owned from hob lob, a huge honkin' M from JoAnne's, and my burlap tree from last year's mantel.


Christmas in the Dining Room-


There's actually a bit of Christmas in here year round as I decided last year that I would keep my Nativity out all the time. I just love it too much not to. I also didn't enjoy packing it back into the foam and the boxes after Christmas, so now- no more packing and we get to enjoy it all the time.


A Target star, recently-painted-white pears from Pier 1, and white trees from an artist I met at Dickens last night.


 Nativity by Demdaco


Back to the living room/playroom/office

Our tree currently has one ornament,


a sweet, handmade angel from the same artist who made the trees. She wanted one of my flowers, so we traded. Love that. Her pouch is filled with lavender by the way. (The Angel's, not the woman that made her)

I also used this on my tree-


What on earth is this called? This twine-like stuff that you unwrap and it becomes wide and ribbon-like? I have no idea what it is but I love it.

And last but not least, there's a wee bit o' Christmas in the kitchen as well-


I saw this idea on Pinterest and loved it. I already had the ribbon and this literally took me all of 5 minutes to drape the ribbon over the cabinet doors, tie it in the back, and cut it off.

Here's the inspiration photo:


Yay for already having 4 Christmas cards to display on my cabinets!
Boo for not having made my own cards yet.
Seriously...
boo.


Anyway,
that's a little tour of the Christmas in our hizzy.
Anyone else out there decide to keep it low-key this year?
Anyone else out there recently paint half of what they own white?
Anyone else out there with only 1 ornament on their tree, and totally ok with it?


Do tell...


p.s. I'll be linking this post to:

Beth's mantel party at Home Stories A 2 Z,


Kate's Holiday Crafts linky at Centsational Girl,

Tuesday, March 29, 2011

Chevron with techron please

So I know that I'm super-late to the chevron party, but I DIY'D my own chevron art last weekend and I'm a-lovin it. It even required, get this....MATH. I totally did math.
I'm a smarty.

I'd also like to let the internet know that when I asked the hubs to buy me a piece of mdf, he had no clue what I was asking for.
MDF.
I thought all males knew building supplies, especially the run-of-the-mill ones that are used all the time on HGTV.
MDF?
Seriously.
no clue.
Anyway, I digress...
Here is a pic of the finished product:

and here's what I used-
1 piece of mdf (about 7 bucks)
blue painter's tape (because it was cheaper than the green and came in smaller quantities and since I had all 3 kiddos with me at Homey D's, I grabbed the cheapest kind fast and quick. fast and quick because one lil girl kept trying to climb out of the ole' buggy)
painter's tape was about 2.50, so my entire project comes to about 9.50.
not too shabby
I scored primer for free from my parents (even though I found an entire can at my house after borrowing theirs) and I have a tip on how to get a small sample can of paint ab-so-LOOT-ly free.
get it?
loot? as in 'money'?
nevermind...

Here's how it all went down...
Put the kids down for a nap,
then run, don't walk, outside with your piece of mdf and begin rolling primer all over that bad boy.

I'd like to take a moment to thank the inventor of the following product:
little cute roller brush that came in my free sample of paint-
thank you from the bottom of my heart.
these are pure awesomeness.
moving on...

After slapping 2 coats of primer on, I realize it is, in fact, starting to rain. I grab my beloved mdf and high-tail it in the house where my new painting spot is now relocated to the kitchen counter next to what's left of the giant tub 'o cheese puffs from O's party.

After 2 coats of white paint (which we already had), I was ready for the math. I knew I'd need to measure and divide and whatnot so that my stripes would be even- the board was 49 inches across and 24 inches tall. I knew 7 would go into 49 7 times (see how smart I am?), and I also knew that I could either mark off every 4 inches top to bottom for some really steep chevrons (is that even a word?), OR mark off every 6 inches for less steep zig-zaggies.
I went for less steep zigs. To mark off my lines, I used thumb tacks and had originally planned to use this thin ribbon-

but quickly realized a much thicker ribbon would be best. After marking every 7 inches along the top and bottom with a small pencil mark, and every 6 inches up and down, I used the ribbon as a guide so I wouldn't have to draw lines all over my board. I placed one ribbon on the first 7 inch mark on top & bottom and secured with a tack, and the other ribbon I ran straight across the board coming down 6 inches on both sides. Also secured it with a tack.

Where the 2  ribbons intersected, I made a tiny hole with another tack.
See?

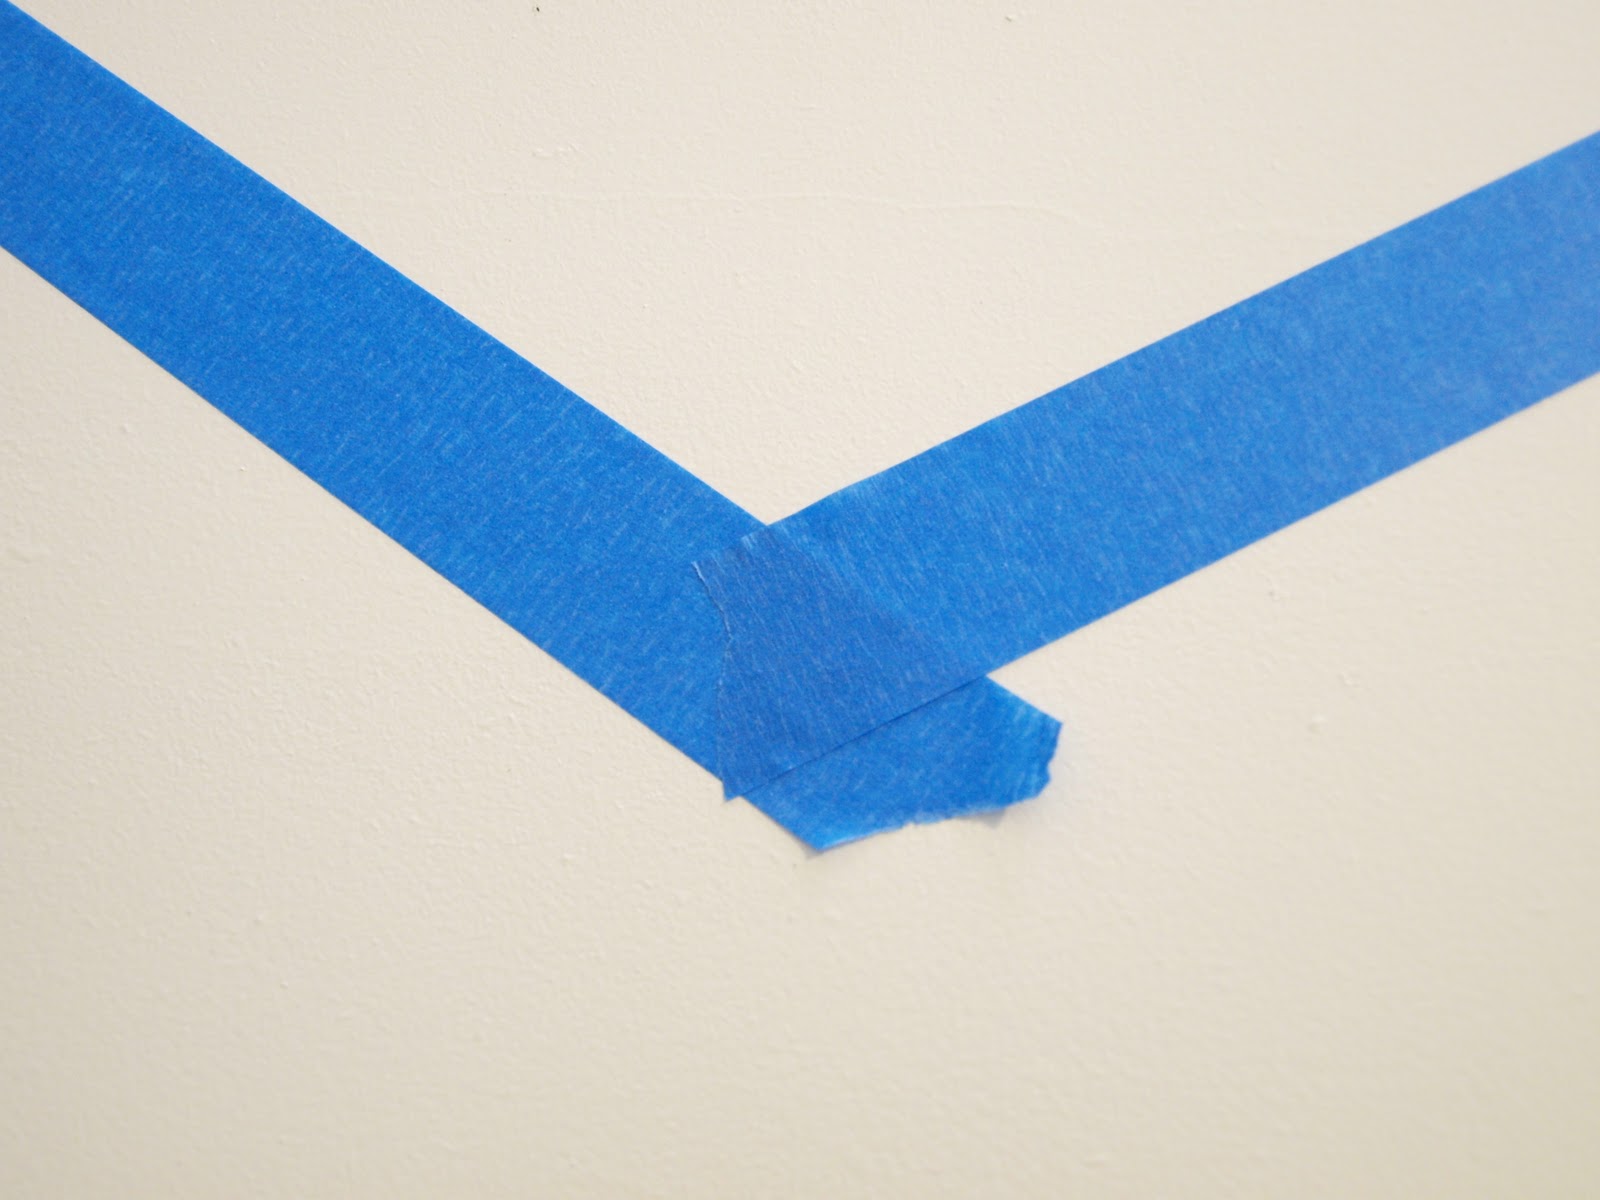
That's how I knew to tape off the first row of 'zigs'.
I worked my way down the board, marking every 6 inches with a tiny tack hole and placing my tape. One end on the pencil mark at the edge, the other end on the hole.

When it was time to mark off the 'zags', I did the same thing going up-
When my tape looked like this-

I took a knife and did this-

I wanted those zags all nice and neat, ya know?

I worked my way across the board measuring and taping, measuring and taping...


until I was ready for paint.
oh happy day

Here's where a fab freebie comes in:
I actually found this on another blog, but Valspar (you know, the paint co?) is currently giving away a free sample of ANY color of paint to the first 100 people who request it each day.
did you hear that, internet?
free paint.
So...I clicked THIS LINK, perused the colors, made my choice, and placed my order. Within 2 days, this was on my doorstep-

and this was inside-

a mini paint roller with 2, ummm, roller cover thingys,
2 mini paint trays,
several paint color samples,
a $5 off coupon for any gallon of Valspar,
and a lovely little jug of golden butter paint.

I grabbed a foam brush and started on those zig-zags-


and then, as if they knew I'd just finished, the kiddos woke up. Just as well- it was time for church anyway. After church, (which gave the paint time to dry) I came home and did this-

crisp, clean lines!
love!

Since I knew I'd be leaning this on the wall above my mantel, I grabbed a couple of pieces of white fleece from my stash and hot glued them down to the top corners-


Can't have any scratches on my lovely asparagus walls, ya know?

stack of books holds a wire jug thingy (thrift store find) full of speckled eggs from Michael's. White wooden finial thingy and craft 'M' are both from the hob lob.

white ceramic birdy is from TJMaxx a few years ago, flowers are from the hob lob, and glass vase was free to me from, hmmm....mom?
did that come from you?

And, just to compare-
this was my Valentine mantel-

and my Star Wars lego mantel for O's party last month-

And now...

it's SPRING, baby!

I'm totally loving how the entire room is brighter, which is also a result of my new drop cloth slipcover. Also loving that the mantel mirror is now in our bedroom leaned against the wall and will be a perfect spot for taking 'what I wore' pics. My fab red plate will be on hiatus in the man cave for a bit.

and yes, I see that orange boucy ball in the fake fireplace. Just couldn't be bothered to pick it up...

Next up- removal of those hideous brass log holder thingys because they're hideous, they have pointy tops which could hurt little babes, and they're hideous.


This post is linked to:
Get Your Craft On at Today's Creative Blog,
I Made THIS at This and That,
Blog Hop at Santa's Gift Shoppe,
Talent Tuesday at Vintage Wanna Bee,
Handmade Tuesdays at Ladybug Blessings,
Show Me What You Got at Not Just a Housewife,
Nifty Thrifty Tuesdays at Coastal Charm,
Tutorial Tuesday at Hope Studios,
Linkin with Lil' Luna,
Anything Goes Party at Type A Decorating,
Whatever Goes at Someday Crafts,
Best DIY Projects of March at Beneath My Heart,
Feature Yourself Friday at Fingerprints on the Fridge,
Frugal Friday at the Shabby Nest,
Frugalicious Friday at Finding Fabulous,
Fantabulous Friday at Mamma's Kinda Crafty,
Flaunt it Friday at Chic on a Shoestring Decorating,
Friday Flair at Whipperberry,
Weekend Bloggy Reading at Serenity Now,
Tip Junkie handmade projects
SAS Interiors
The Lettered Cottage
DIY Club
Join  us Saturdays at tatertotsandjello.com for the weekend wrap 
 up           party!
Visit thecsiproject.com
Related Posts Plugin for WordPress, Blogger...